Adding An Entirely NewMeeting

If you choose "Add" in the MTM Edit Screen, the Meeting Parts Designer appears with nothing preset:
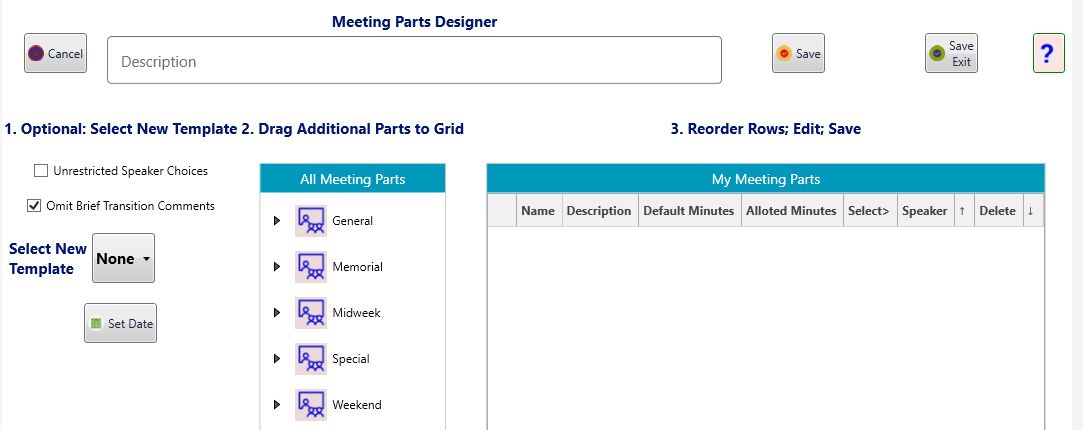
The Meeting Designer has three numbered horizontal areas, the last being your meeting plan.
Space is also provided for an optional Meeting Description that will appear in the MTM Grid.
Step 1 Select the general type of meeting, supplying its date.
Using the first checkbox you may also have any later choices of speakers include persons not normally given such assignments, such as baptized sisters in a small group or congregation.
Unchecking the second checkbox indicates you want every incidental portion included, such as a Chairman's transitional remarks between parts. This will produce better timing of the parts themselves but may prove a chore with some.
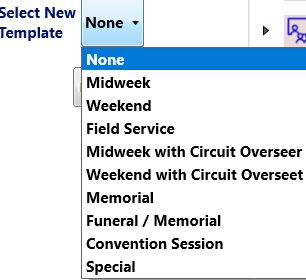
On "Select a Template" you receive these choices:
If we select "Midweek", the 3rd Area changes to:
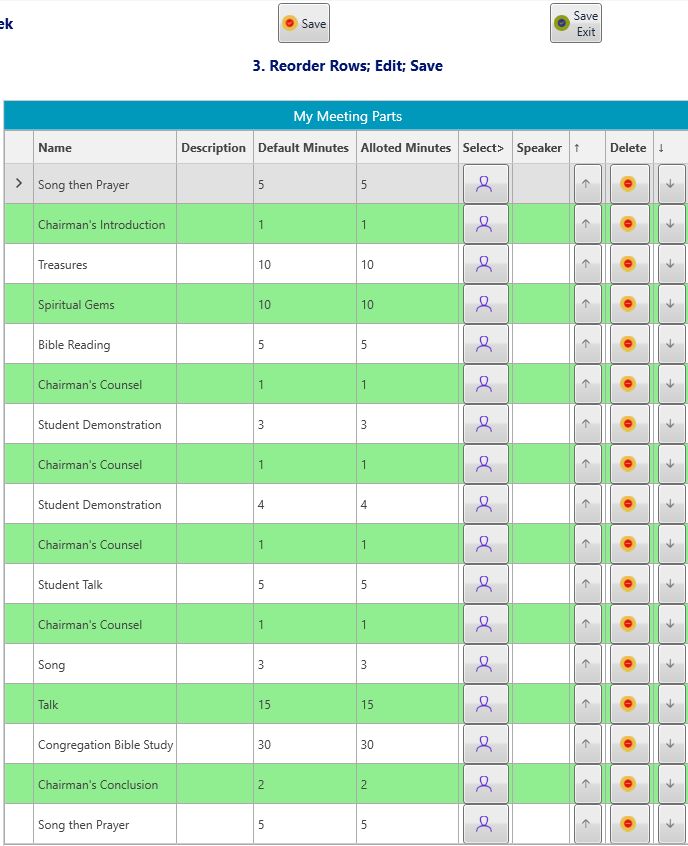
This may or may not be the exact makeup of your future meeting. We'll discuss Editing shortly.
Now the meeting Time must also be chosen, using the Set Date button in the first pane:
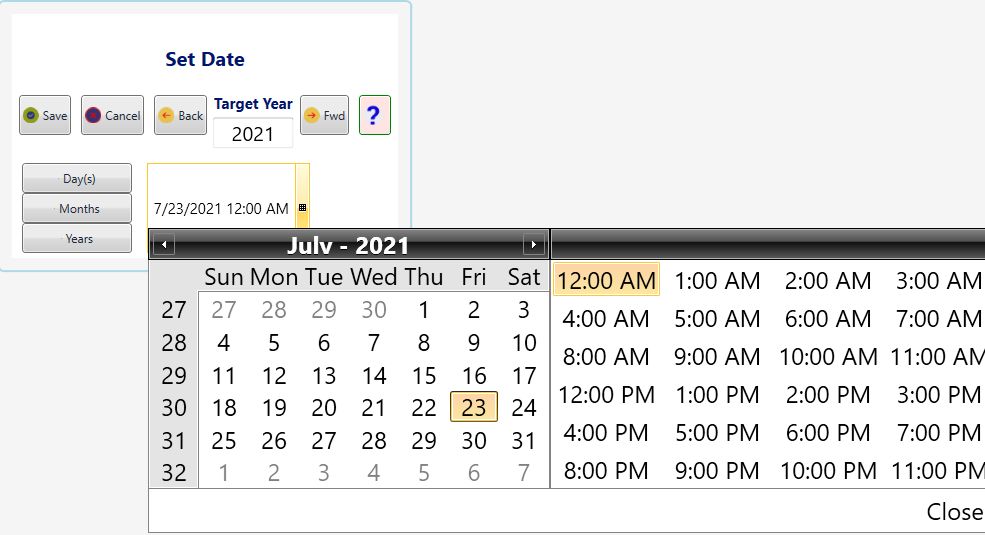
After selecting and saving a more appropriate date and time, the Designer heading will look something like:

At this point you should SAVE your work or even SAVE EXIT, returning later to complete meeting planning.
Your new meeting will appear iu both the MTM Edit Menu and Grid.
As you proceed and are satisfied with current results, Save again!
Step 2 (Optional) Add any missing parts.
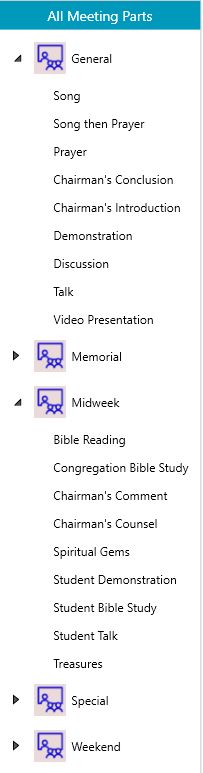
All defined meeting parts are in the TreeView in the second pane.
You may open any group and drag a member over to the bottom of the Grid in the right panel.
You can repeat this as many times as needed. Do not be concerned with the order of the parts yet..
Here's a partly open Tree View:
Step 3 (Optional, but usually necessary) Edit the meeting plan.
This has many options and is considered in the next topic, Editing the Plan.